|
Stella
DellaVella Originals
One For
Me...One For You
3 Friends’ Scarves
This is easy.
And whose mom doesn’t have a drawer full of old scarves she
ABSOLUTELY NEVER
wears. But when 1 boring scarf mixes with another boring scarf
– WooooHoooo
– NOT
so boring anymore.
And even if you
are sworn to NEVER touch the scarves in your mom’s drawer, you can
ALWAYS find scarves at garage sales for 50 cents (sometimes 10
cents). This is a fun way to make 3 new scarves from 3 old
scarves. OMG!!! YOU just HAVE to see Daisy in my scarf.
Look in my diary!!!
Here's
my finished scarves.

HERE'S HOW
YOU
CAN DO IT:
-
I measured
my infinity scarf and it's 66 inches long, so I want my
recycled scarf to measure close to 66 inches.
-
Whenever I
find old scarves at a garage sale, I always wash them in warm
water with dish washing detergent. Rinse and dry over the
back of a chair or hang over an ironing board. Iron the
scarves after they dry (be careful and iron on a lower setting
or you will burn them - kind of like the sweaters in the oven
from my first Diary).
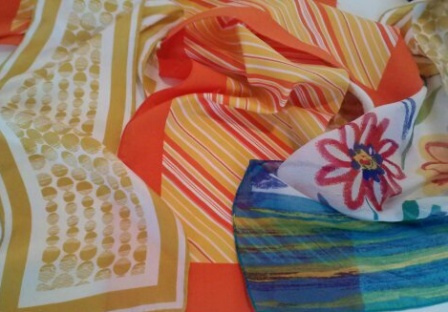
Here's the 3
scarves that I made into 3 different original scarves.
-
Depending on
how many scarves you have, cut the scarves into equal pieces.
I have 3 scarves, so I'm going to cut each scarf into 3 equal
pieces. If you have 4 scarves, then you can make 4
scarves, but cut each scarf into 4 equal pieces.
-
Then mix and
match and sew the scarf pieces together. If your scarves
are the same width, then this project is EASY. BUT if your
scarves are different widths, then you have to trim one side so
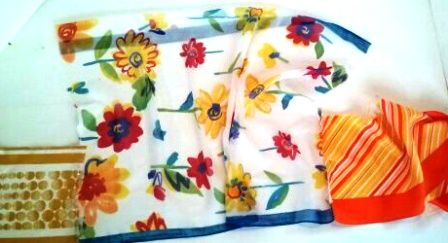
it's all even. See how the middle scarf section is MUCH
larger than the other 2 scarf sections?
.
-
Here's the
middle scarf trimmed. Here's another tip. Pin the
scarf pieces together so at least one edge is a finished edge or
has all the borders of the scarves. And pin the scarf
pieces together so the WRONG SIDE of the scarves are
facing each other.
-
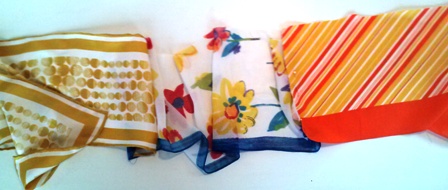
Look at the
bottom edge of the scarves. See how they all have a
border?
-
Then sew the
scarf pieces together.
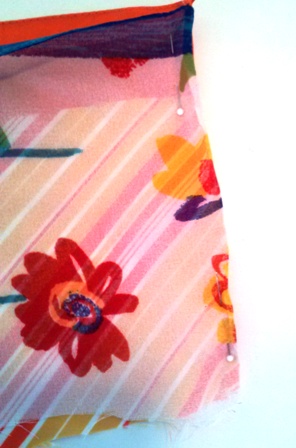
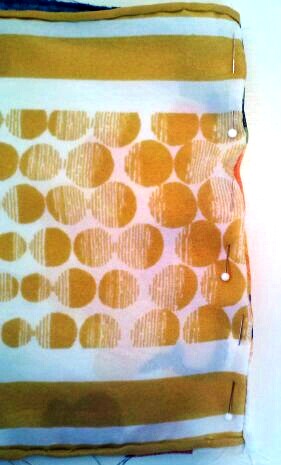
- But now
I need to turn under the unfinished edge (which is the top) so
the long side of the scarf is the same size.
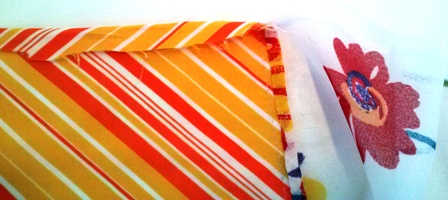
- Then
you'll need to turn over that edge another time so you don't see
any threads on the long edge of your scarf and the edge looks
finished. You can sew by hand or by machine. You
might need help with your mom on this one, but once you get the
hang of it you'll love it!
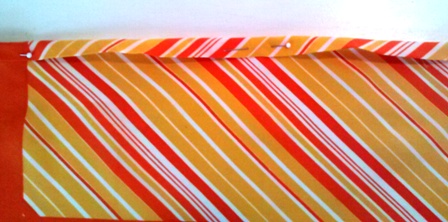
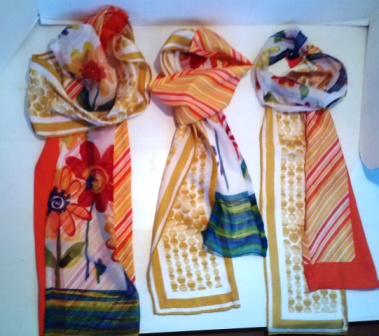
And now you are DONE!
The scarves are very pretty on all sides.
Now it’s up to you to
create your VERY OWN original!!!

Copyright ©
2014-2022 Susan Patton
3 Hungry Dogs™
Diaries |

